This website is made by an Authorized Autel Robotics distributor/partner. For The official website of Autel Robotics, please visit www.autelrobotics.com
Autel EVO NEST
25399,00 €
Autel EVO NEST Device
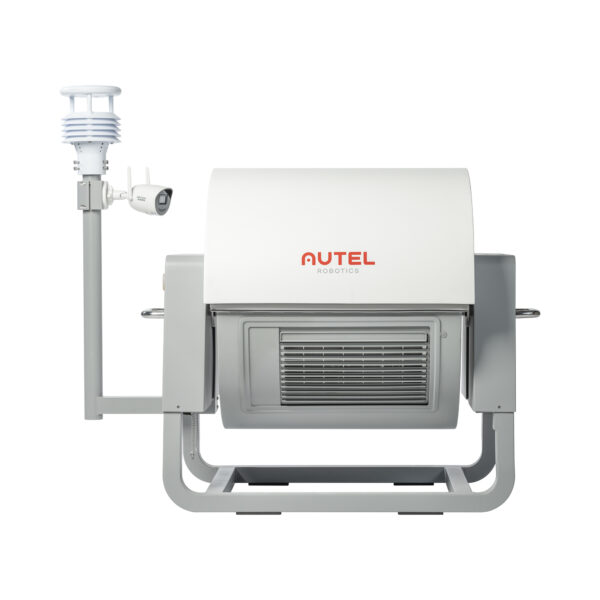
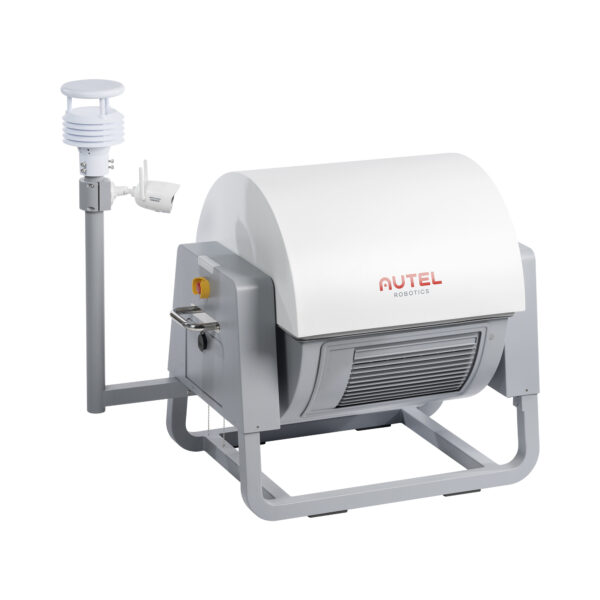
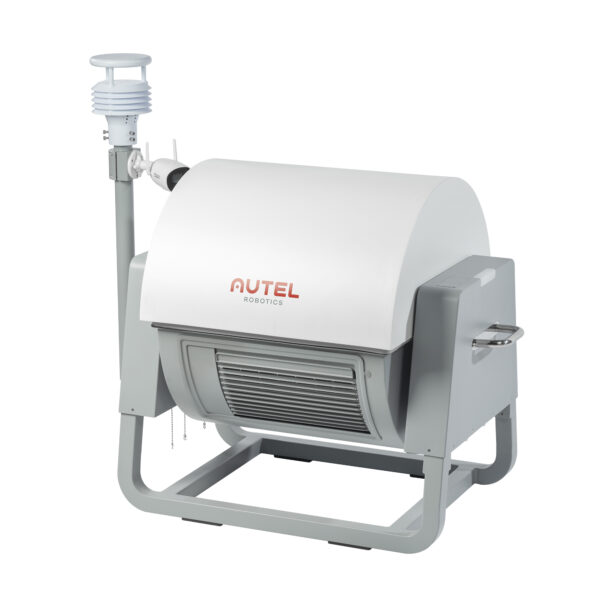
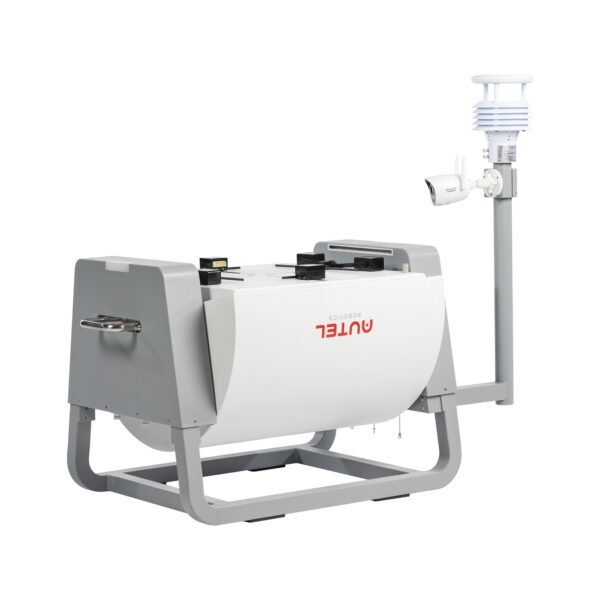
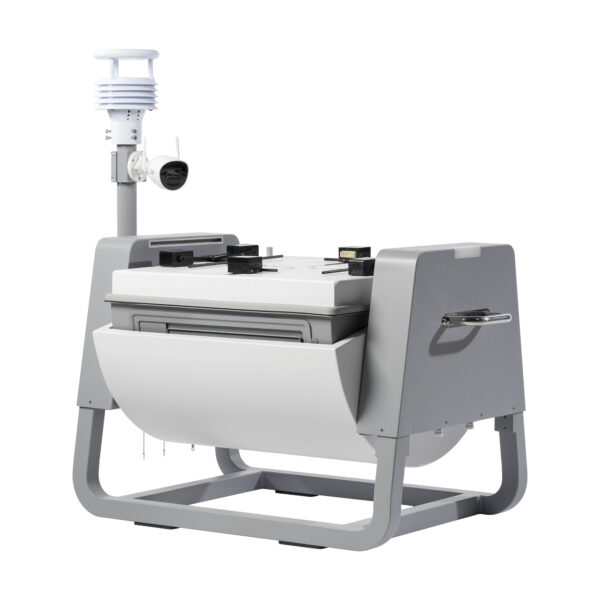
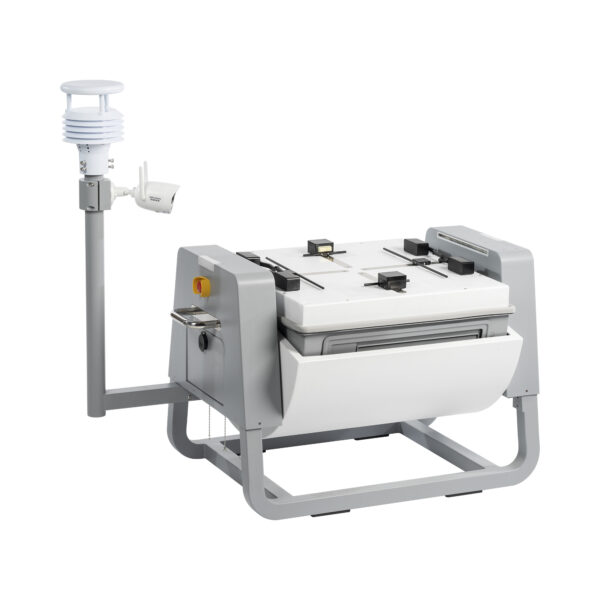
EVO NEST is an automatic drone charging station that enables industrial drones to land, takeoff, and carry out consecutive missions with no human intervention. Equipped with a retractable canopy, a glass-fiber charging board, and a built-in air conditioning system, the NEST has everything it needs to keep itself and its aircrafts in great working condition, no matter the weather. Using exclusive software, operators can also plan flight tasks from the comfort of their home office, reducing labor costs while enhancing efficiency.
- Autel EVO NEST is Compatible with: EVO II Series, EVO II RTK Series, and EVO II Enterprise Series
- The unit is small and lightweight, making it easy to transport and deploy anywhere, from substations to rooftops.
- The unit provides a status display for each individual component of its modular system, making it easy to diagnose problems remotely.
- With a built-in air conditioner and a dust- and water-resistant exterior rated IP54, EVO Nest can easily adapt to harsh outdoor conditions.
- The unit fully recharges aircraft in about 45 minutes, and its overcurrent protection mechanism makes it stable and reliable.
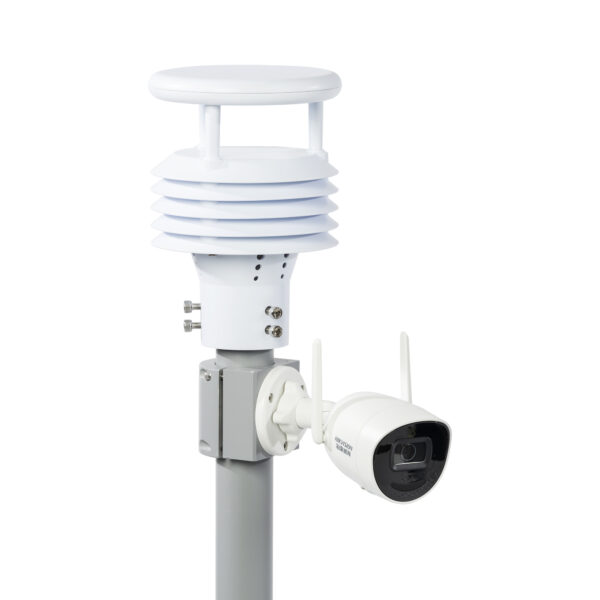
- The unit is equipped with an electronic lock and an internal camera to ensure the safety of your equipment.
EVO NEST Automatic Flight System
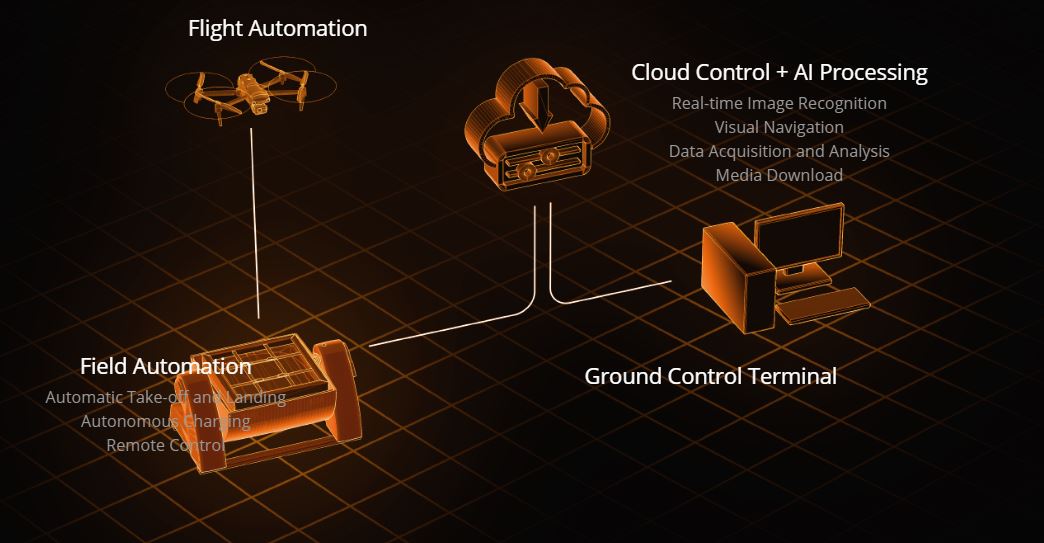
The EVO Nest Automatic Flight System is composed of: the EVO Nest, EVO II Series aircraft, a cloud-based service, and command center software. Users can assign a mission using the command center, and users will see live video feedback from the EVO Nest and aircraft. The system is compatible with all EVO II Series aircraft. The EVO Nest ensures that the aircraft is safe and stable while charging. The system also provides a standard application pragramming interface and supports custimization.
Practical Applications
Customised Development
The System uses an open API Interface, enabling customization for industry specific needs
Grid Deployment
Multiple nests can be deployed to enable drones to accomplish parallel tasks and relay operations to multiple aircrafts, covering a comprehensive area.
Information Management:
Data collected from the aircraft, EVO NEST, and payload are uploaded to the cloud for users to review or access later
Autonomous Flight
The System can customize the drone`s automatic flight algorithm based on its surroundings, allowing for autonomous takeoffs, autonomous inspections, and precise landings.
Cloud Remote Control
Using a 5G/4G network connection, the aircraft`s flight route, gimbal angle, flight time, image capture, and frequency can be controlled in real time without geographic restriction.
AI Recognition and Tracking
After receiving its mission, the drone automatically identifies the incpection target, tracks it, and identifies any abnormalities.
Industrial Applications
Security Patrol
Powerline Inspection
Traffic Control
Site Monitoring
Forestry Inspection
Agricultural Monitoring
Kiirjuhend
FAQ
Firmware upgrade
1. Prepare a monitor, an HDMI cable, a mouse and a USB docking station.
2. Connect the docking station to the USB port on the docking station, plug the mouse cable into the docking station, and connect one end of the HDMI cable to the monitor and the other end to the HDMI port on the docking station.
3. Open the browser and visit Autel Robotics’ offical website to download the latest version of the firmware upgrade package.
App upgrade
1. Prepare a monitor, an HDMI cable, a mouse and a USB docking station.
2. Connect the docking station to the USB port on the docking station, plug the mouse cable into the docking station, and connect one end of the HDMI cable to the monitor and the other end to the HDMI port on the docking station.
3. Open the browser and visit the Autel Robotics’ official website to download the latest version of the upgrade package of the app.
Note:
Before connecting the USB or HDMI interface, you need to use an Allen screwdriver to remove the side cover.
1. Before flying the drone, please make sure that the GPS signal is good. (display the number of satellite: at least 15)
2. If the GPS signal does not meet the requirements, please find an open space to place the EVO NEST, and then test at least 10 flights, landing the drone after marking the take-off point to ensure that the average moving distance between the landing point and the take-off point is within 10 cm.
If you want to fly manually, you can find available nests on the map through the aircraft nest list, and then click the one-click takeoff icon on the aircraft nest drone on the map. This will enable you to control the drone remotely in the background of the command center flight.
1. Log in to the organization account, enter the task management interface, click “New Task”, edit the task name, device type, and task type. After editing, click “Configure Task” to enter the configuration interface.
2. Add waypoints and routes, and configure the corresponding parameters. After the parameter configuration is completed, click “Save” to return to the task management interface.
3. Click “Submit Task”, select the nest as the execution object, execution type (immediate execution/planned execution), period, start time and validity period in the issuing pop-up window, and finally, click “OK” to send the task to the app.
4. Use the username and password created by the command center to log into the app to view the system tasks issued by the command center. Click the task card to enter the task details page, and click the takeoff button to start the task.
1. Log in to the Autel SkyCommand Center and enter the device management page. You can choose to add drones or aircraft nests, and enter the device name, serial number, and team in the pop-up window. After entering the serial number, the device model is displayed according to the result of automatic matching.
2. When adding a nest for the first time, enter the name and serial number. After the nest model is automatically identified, a password input box will appear. Enter a 6-digit password for nest authentication. The password can be modified.
3. When the nest app is used for the first time, a nest verification pop-up window will appear. You need to enter the service address and the corresponding 6-digit password; when the nest has been added in device management and the power is turned on, the nest will appear on the map interface.
1. Make sure that the drone is placed in the middle of the charging board.
2. Check carefully whether the connection between the power supply and the network is correct.
3. Confirm that no one is standing within 6 feet of the EVO NEST.
1. Please choose an open area, such as an open clearing, roof, etc.
2. Please choose a place with good GPS signal (display the number of satellite: at least 15) and weak electromagnetic interference. You can use the drone to test the GPS signal and electromagnetic environment before selecting the site.
1. The charging stand has 4 arm fixing clips. The two shorter fixing clips are marked with E, and the taller fixing clips are marked with F. The E fixing clips are used to fix the rear arms, and the F fixing clips are used to fix the front arms.
2. After fixing the arms, install the drone battery on the drone, and connect the cable under the battery power button to the tripod.
The EVO II series, EVO II RTK series, and EVO II Enterprise series units

